I have always been somewhat of a hippie ever since I was a kid. Before the “going green” movement became really popular, I always recycled my bottles instead of throwing them out and pitched food waste into a compost pile. It’s just how my mom taught us to do things. Sometimes people will raise an eyebrow that I save my slightly used tin foil to use again but it was always common practice in my house. Or reusing paper bags if they’re not crinkled. My mom has even go so far as to wash out her freezer bags. I think these practices are popular in my mom’s generation because they were always worried about money. They grew vegetable gardens more out of need than hobby. But it is coming back today because being green has become the cool thing to do, and I am going to write about my recent green projects. You know all those plastic grocery bags you have been storing up? Well I have found a fantastic way of using them!
Plastic bags + yarn = Plarn!
This is not a new idea, but I think there are so many different ways you can go with it. I first read about this technique in a book about crochet bags, but I did not like the idea at all. I liked to crochet pretty things, and I thought that plastic bags would be stiff and ugly. But my roommate wanted to try it, and I figured it was at least worth a shot since I had lots of plastic bags and no other projects going on at the time. She was the one who first taught me how to knit and then we tackled crocheting together. So generally when one of us has a new project in mind we like to geek out together. It turned out much better than I expected, and I got a lot of new ideas that would make awesome plarn projects.
Step 1:
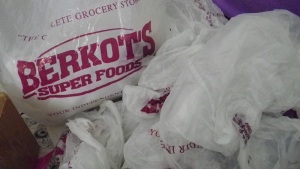
You will need LOTS of plastic bags! Depends on what size you want your crocheted bag to be, but you will probably need at least 40-50 plastic grocery bags.
Step 2:
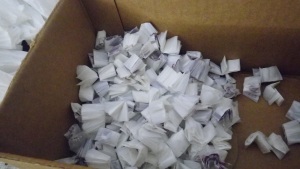
Lay out bags flat and then fold in half side to side. Keep folding the bag in half sideways, not top to bottom, until you have a small strip about 1 inch wide. Then cut the handles off the bag and start cutting pieces about 1 inch wide. When you get down the the bottom, you will have to toss the last piece that has the bottom of the bag.
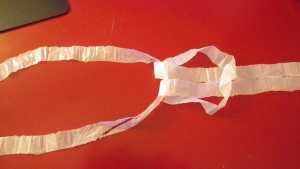
You will now have lots of little plastic loops, and if you pull one loop through the other you can make a long plastic chain. Try to make the chain as even as you can, meaning attach each chain nearest to the center of the loop before it. This is because when you start to crochet with it, uneven loops will leave extra plastic sticking out of your finished bag.
I like to wind my plarn around a piece of cardboard just to keep it neat and easy to work with when I am crocheting with it. That’s all! Now you have a lovely ball of plarn.
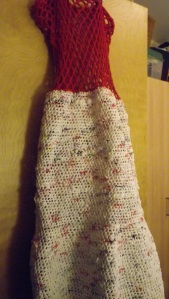
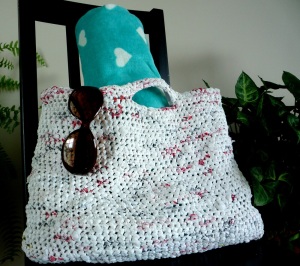
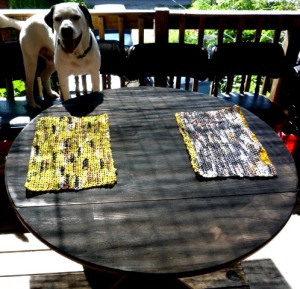
You can be as creative as you want with your plarn. I have started to separate my bags out into different piles of colors before I cut them. There are lots of patterns for a basic beach bag and all you have to know is single crochet. I have also made some lovely outdoor patio placemats and a giant laundry bag. Some of my plarn creations are shown below. Happy crocheting!
